| PanPastels - Tips, tricks and projects by Zoe Russell8 Comments20 April 2016 | Lesley Wharton Here are some fabulous projects, showcasing PanPastels, from Design Team member Zoe. I've been using Pan pastels for many years, I love them and over the years I've picked up a few tips about using them so I'm sharing them with you, as I know trying new mediums can feel a little daunting.
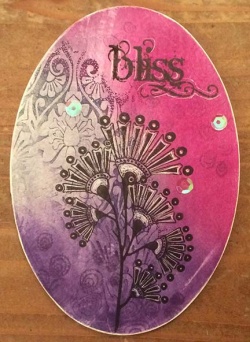
Materials: Stamp sets Dusky Damask Tangled Fragments Artistic Affirmations Sketchy Doodle Landscape Oval Stampbord and Stampbord tools
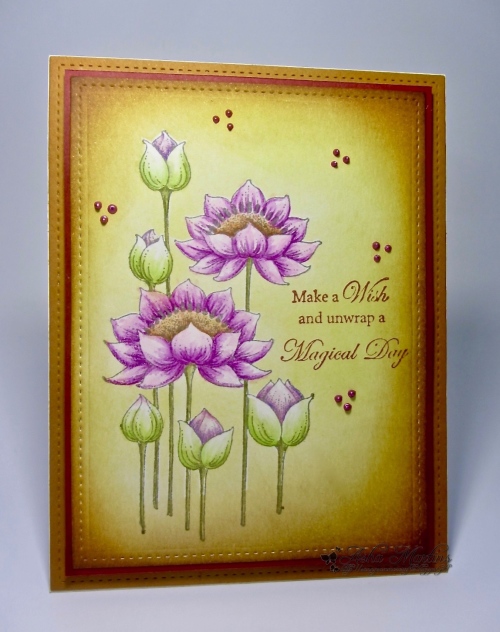
So onto my project - I stamped my Dusky Damask stamp onto the Stampbord using Versamark ink then very lightly applied the Pan Pastels with light strokes using sponges, gradually blending and building depth of colour, I sprayed with hairspray and dried and then added another layer of Pan Pastels the get a deeper colour, sprayed again and dried, I then used Imperial Purple Versafine inkpad I second generation stamped the circle type pattern from Tangled Fragments stamp set, you have to heat set Versafine ink before the next step, although it's a permanent ink it's oil based so takes longer to dry, then I stamped my main image from the Sketchy Doodle Landscape set using Onyx Black Versafine inkpad, heat set again and then using the Stampbord tools I scratched highlights into it, once I was happy I stamped my Bliss from the Artistic Affirmation stamp set, dried and scratched here and there to add highlight, I used some wire wool around the edge to add a border and finished off with some iridescent sequins. Materials:
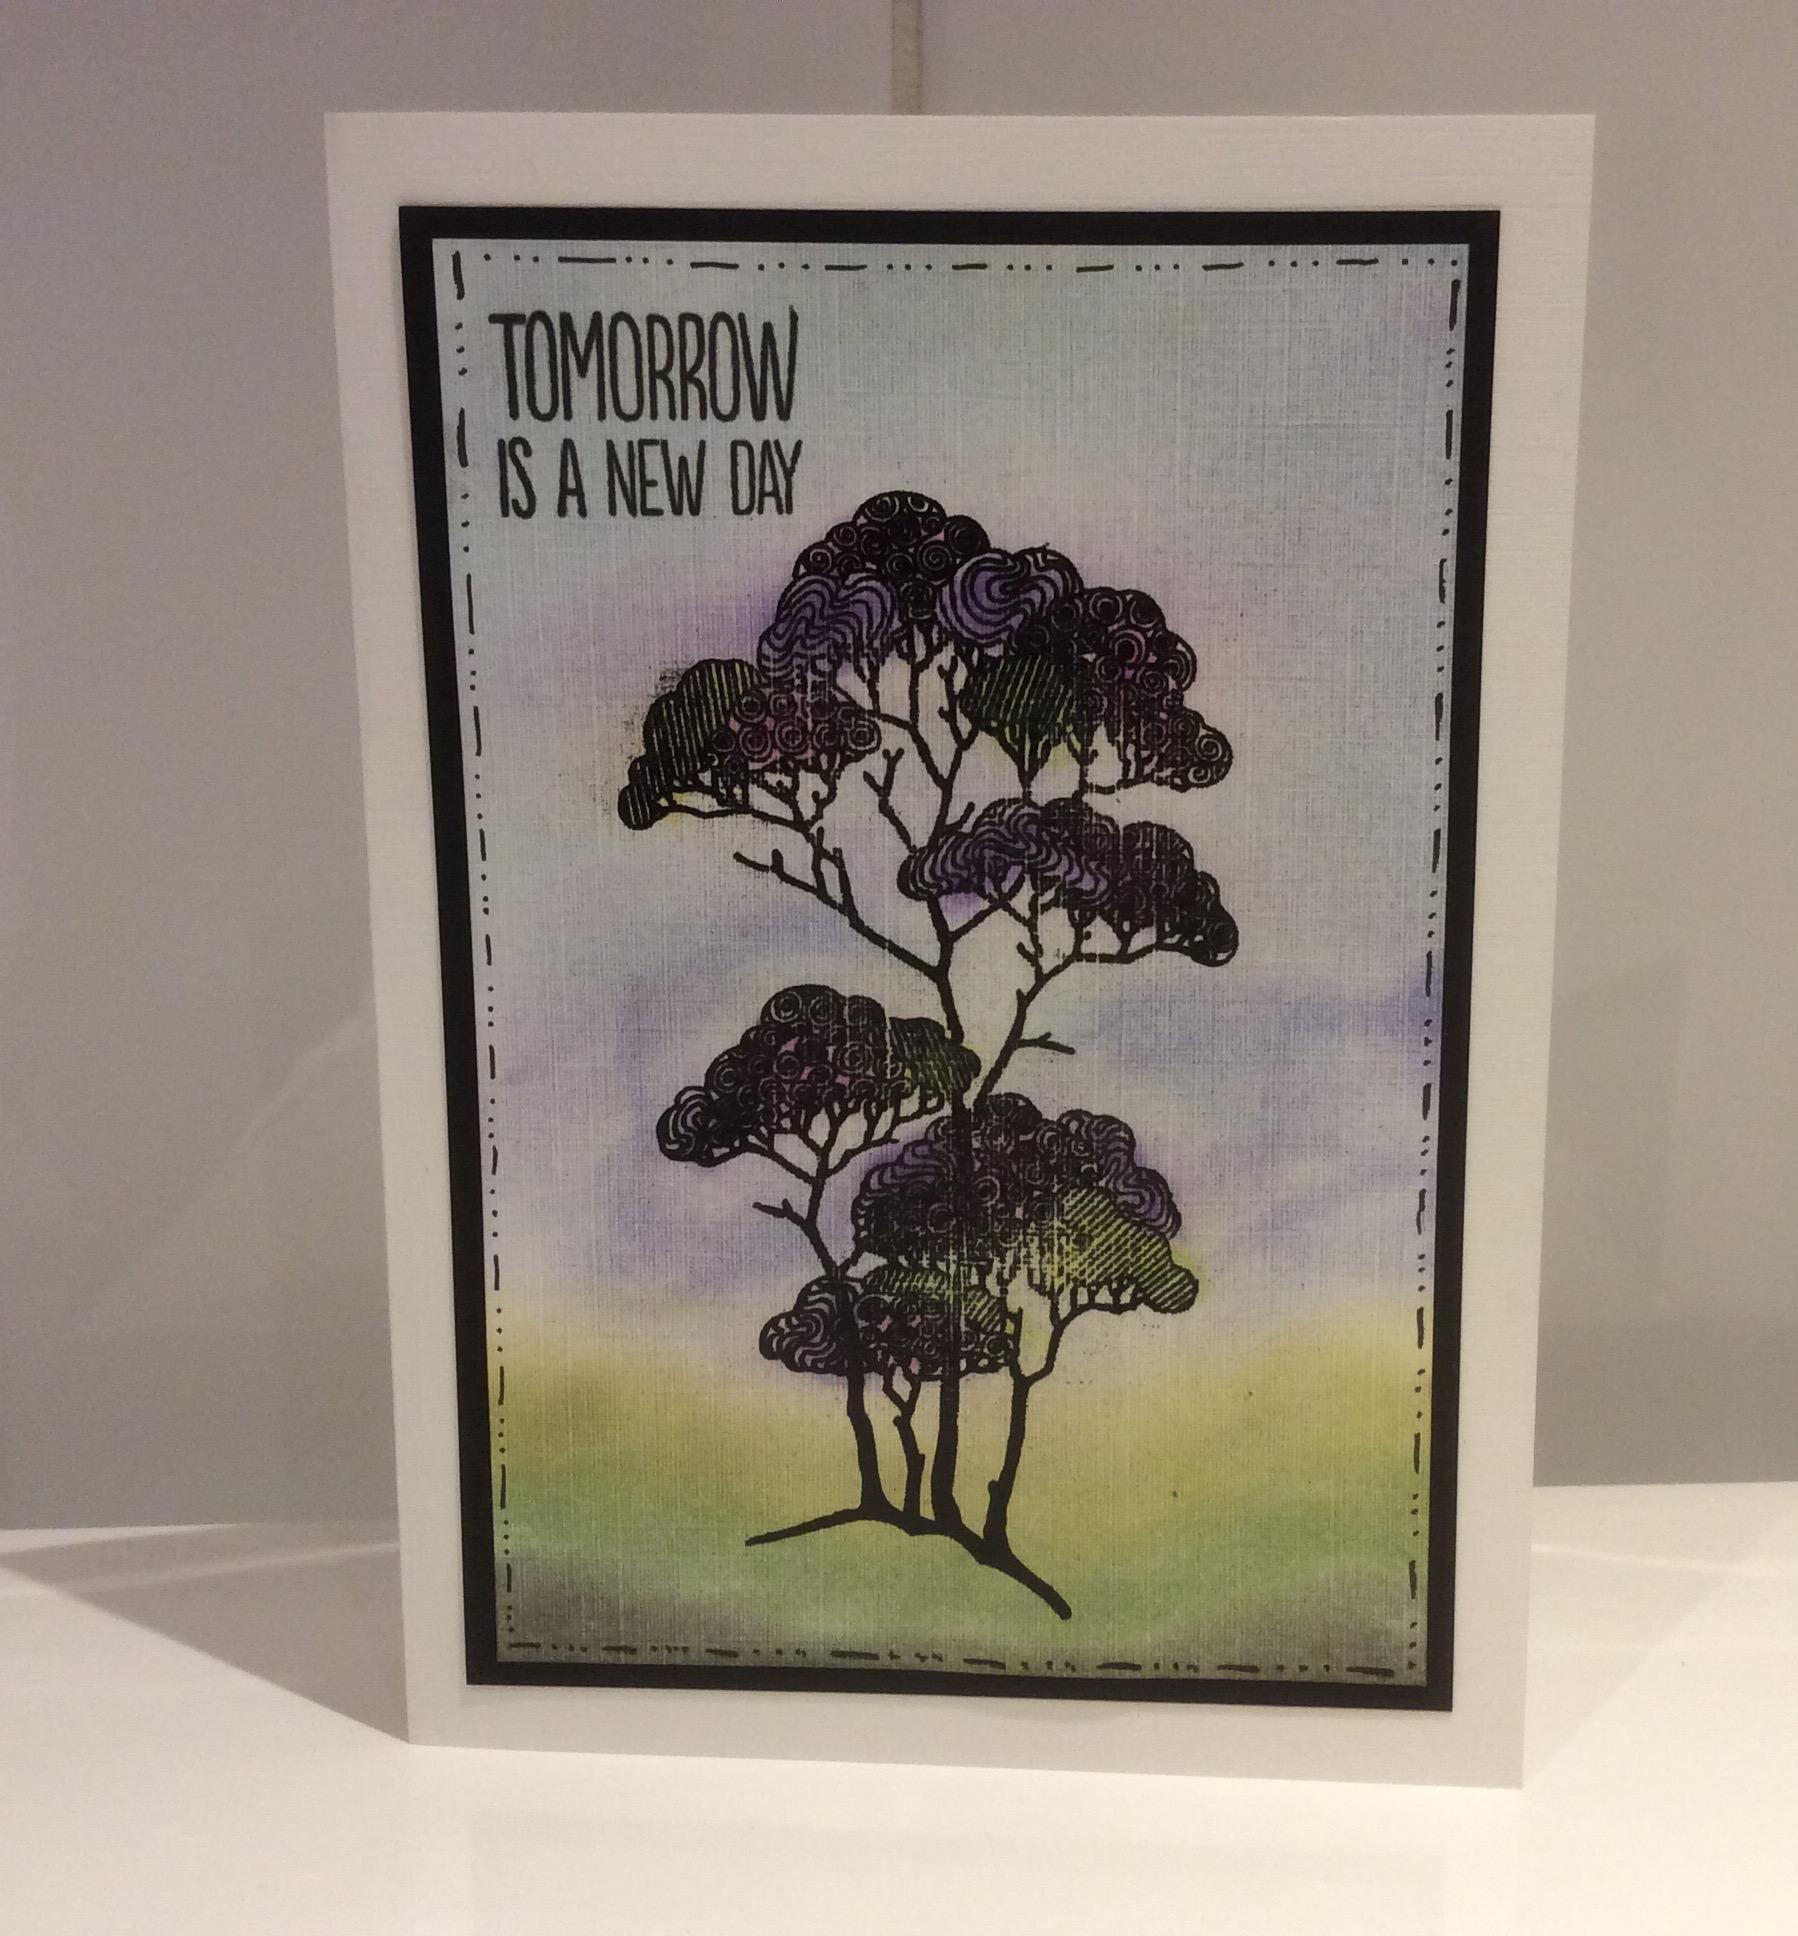
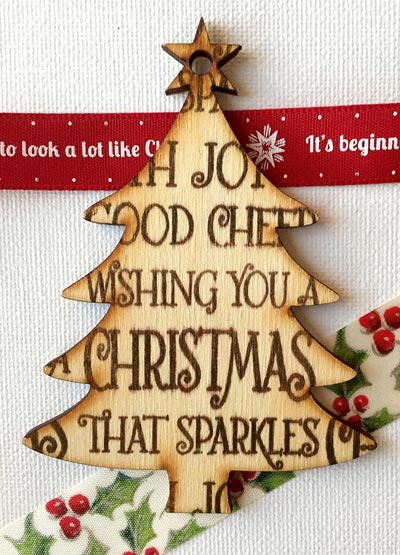
This was a very quick and simple card, I just stamped my image using Versamark Inkpad and heat set after applying black detail embossing powder, I coloured the tree using Pan Pastels in various colours using a fine detail tool and then using a sponge I applied various blues and greens to the background, sprayed with hairspray and once dry I stamped my sentiment from the same set, I added some detail around the edge using 3 dots and a dash with a fine tipped black marker, mounted onto some black card before adding it to my card base.
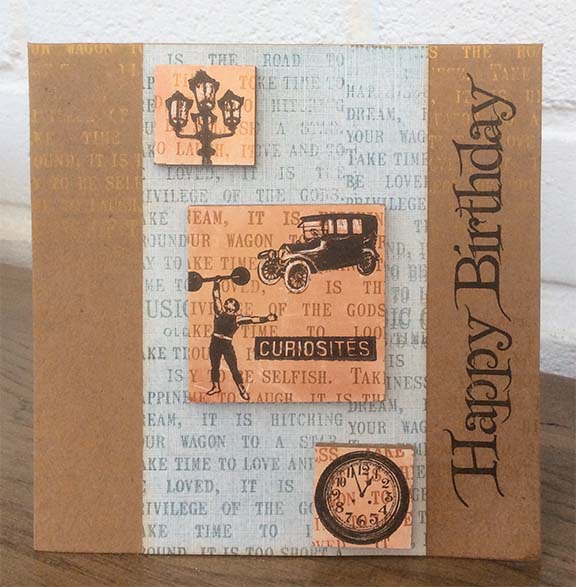
Materials: Stamp sets: Curiosities Birthday Words Words of Wisdom
Kraft card base card 6"x6" Scratching tool
A huge thank you to Zoe for writing this brilliant article and for designing these wonderful projects. I hope you have enjoyed it and you are inspired to have a go yourself.
|
|
.jpg)


An absolutely brilliant article Zoe, love the projects, and some great tips, thank you, Judith xx
I bought Pan Pastels several years ago, put them away until...... but having seen the fabulous creations featured it's time to take them out for an airing and create some magic!
Smiles
June
Beautiful projects and stamps and great tips....thank you xx
Fab projects Zoe, they have really inspired me to try the Pan Pastels again and thanks for the great tips :) xx
Lovely variety of cards. I have been wondering about getting some pan pastels and your article has given me the confidence to give them a go. Thank you.
Really beautiful - love those colours.
I do love your project on the stampbord.. have not tried out my pan pastels on that.. will have to give it a go this coming year.. and what a lovely idea to do the second generation stamping after having laid down more colour... gorgeous