| Getting Stuck into Adhesives Part 110 Comments25 February 2015 | Admin
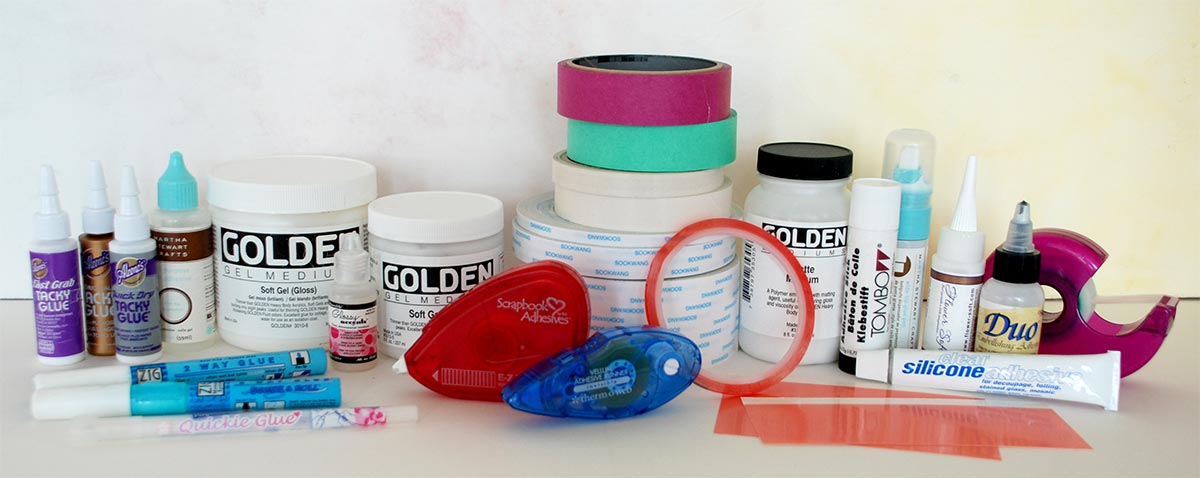
Do you ever get confused by all the different adhesives that are available? Well there are lots of different types and brands out there, so I have a couple of posts for you which I hope will de-mystify things a little. There’re two basic types of adhesive, wet and dry. Dry adhesives include things like double sided tape, glue dots, contact sheets, foam pads and tape runners and wet adhesives are glues, gels, glazes and mediums. This week I am starting with a look at dry adhesives. Dry Adhesives
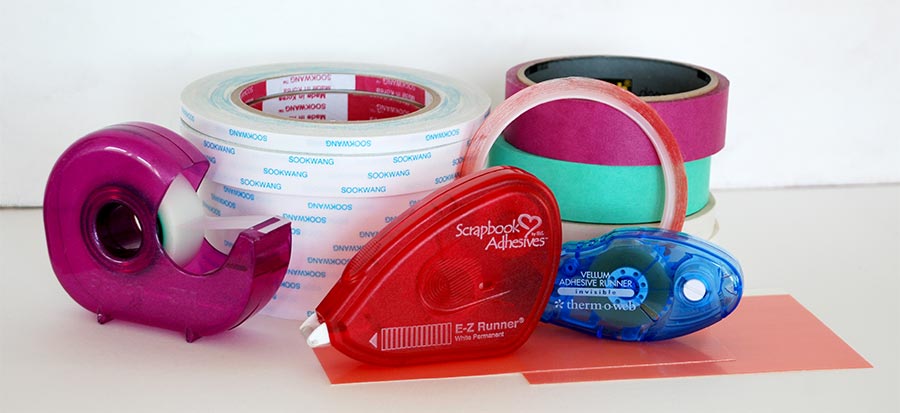
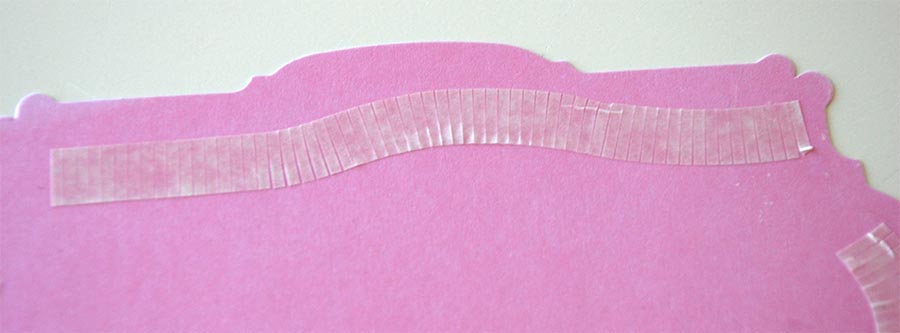
Double Sided TapeDouble sided tape and sheets comes in a variety of formats. Some tape is made of thin tissue with a layer of adhesive on both sides; others are made from a very thin plastic film and some lay down a strip of rubbery or silicone type adhesive with no core material. The plastic film type cannot be torn and must be cut with scissors, whereas the tissue based tape tears easily. Tapes with no core can be tricky to handle on a roll as it does not always transfer evenly off the carrier paper. It tends to work best in tape runners where a roller is used to apply pressure and transfer the tape evenly. Even then, this type of tape runner is notorious for getting clogged up around the dispensing point, so don’t buy a job lot until you have tested one out. The good quality ones can be great on translucent vellum as they leave hardly any trace showing through. Some tape is made up of tiny little dots, which can work well for tissue or lightweight papers and can be great for translucent layers such as vellum or sheer ribbons, but it will not hold anything too heavy. Fine dot adhesive is available in sheets, rolls of tape and tape runners. Heavier cardstock needs a better quality adhesive as lightweight tape may hold at first but overtime the bond is not strong enough and the card can fall apart. Some heavyweight adhesive tape comes on a red plastic liner and is often known as red liner tape, though there are several different brands of this specific material. Red liner tape cannot be torn and must be cut with scissors.
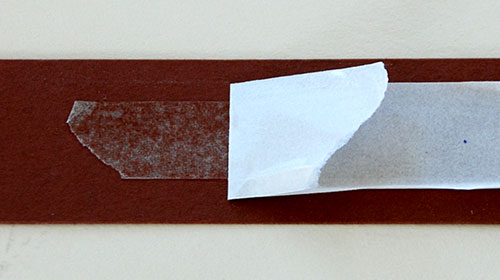
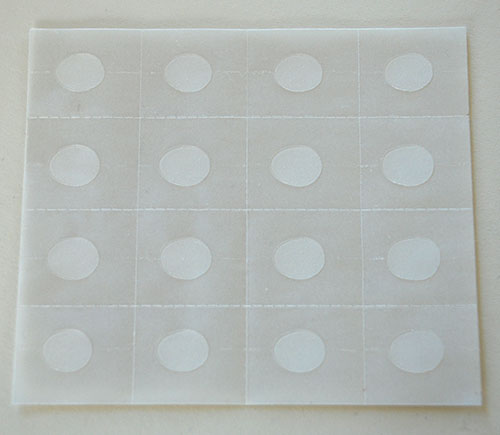
Both red liner tape and Scor Tape have enough ‘tack’ to hold items like glitter, micro beads and mica powders. They will also withstand heat that can melt some adhesives, which means you can apply embossing powder to the tape and heat emboss it. Easy lift tape
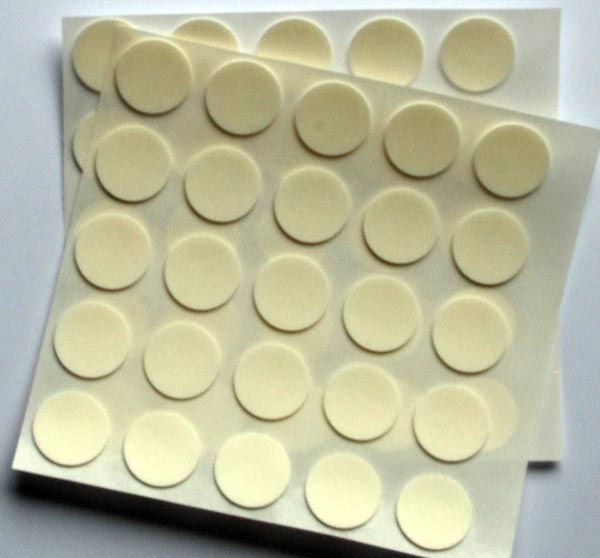
Foam Tape
Tape sheetsDouble sided adhesive sheets can be cut to any size or shape and can be very useful when you need complete edge to edge adhesion on a shaped item. You can stick it to cardstock before die cutting and you effectively create a die cut sticker. This can be particularly useful when sticking items onto a cylinder or other curved shape. Tape sheets can also be very useful for sticking down clear materials such as polyester, acetate or vellum as you can cover the entire surface and not see the lines that you would get with tape. Tape sheets can also be fun to use with glitters, beads, embossing powders, etc. Cut a shape (eg, fairy wings), peel off the backing and stick down, then peel off the front liner and dust with glitter. Glue Dots
Gadgets
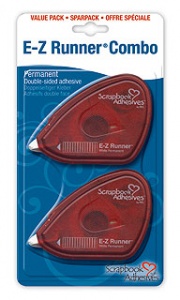
Tape runners and products like the Xyron adhesive machines can be more expensive to start with, but save lots of time if you are doing batch work such as wedding stationery or christmas cards. Over the years I have tried lots of different tape runners, some disposable and some that can be refilled with rolls of tape or cartridges. They all have their quirks so it's worth trying out a few to see what suits you. I now have a favourite tape runner that I buy in bulk for my card making and use all the time for regular weight card and paper.
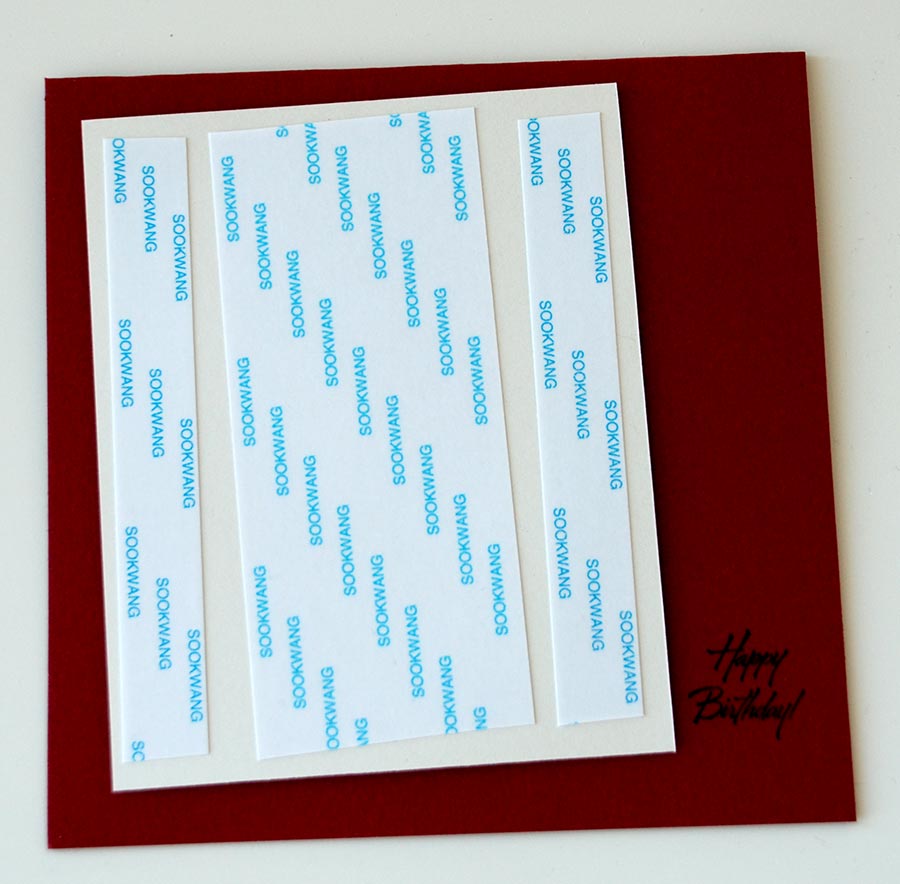
Decorative TapeI have talked mainly about adhesives that are designed to be invisible and hidden from view, but there's nothing to say you can't use straight forward sticky tape, masking tape, pretty washi tape or even parcel tape to stick your items together. Decorative tape can be used to great effect on cards and in scrapbooking it is a fantastic way to stick down photos. How about a journal card that you can flip up, revealing both the reverse and the page beneath?
There is no single 'one size fits all' magic solution with adhesives, so you will probably need to have space in your craft room for a selection of different types that do different jobs. Click here to visit our Adhesives department and see what we have in stock. In part 2 I will be looking at a selection of wet adhesives which will take us into the world of collage and mixed media. Happy sticking!
|
|
.jpg)


Thanks Glenda, great article, always wondered what Scor Tape was
Thank you Glenda for clearing up a few sticky points (excuse the pun) but I have a drawer full of glues and tapes and sometimes I still can't find one that works. This has been a great help for future purchases. I'm looking forward to the wet glue explanation.
Ann x
Many thanks for this, always useful to have a re-cap.
Thank you Glenda, I had never heard of Scor Tape, all very helpful Kate x
Thanks Glenda...a few new brands for me to try 😊
Thanks Glenda always wondered like Margaret what Scor Tape was.\
Suexxx
Thank you Glenda for this very interesting post on dry adhesives, your experience and feedback are precious. Coco xx
I would like to know how people stick complicated fine die cuts? I have tried many different types of stick but could not say one was better than another. I have 2 die cutting machines and a silhouette so can cut lovely complicated dies but sticking them is a real headache.
Carole - I use a tape runner on the bigger parts where I can, then I use a Zig glue pen on fine details. I often use an old magazine as a 'glue pad' so I can scribble or dot the pen all over the back of the delicate pieces, going right over the edges if I need to.
When I then stick the die cut down, I might put an acrylic block over the top to weight it down for 5-10 minutes and ensure the whole thing is making contact.
Hope that helps,
Glenda
Carole - I use a tape runner on the bigger parts where I can, then I use a Zig glue pen on fine details. I often use an old magazine as a 'glue pad' so I can scribble or dot the pen all over the back of the delicate pieces.
When I then stick the die cut down, I might put an acrylic block over the top to weight it down for 5-10 minutes and ensure the whole thing is making contact.
Hope that helps,
Glenda