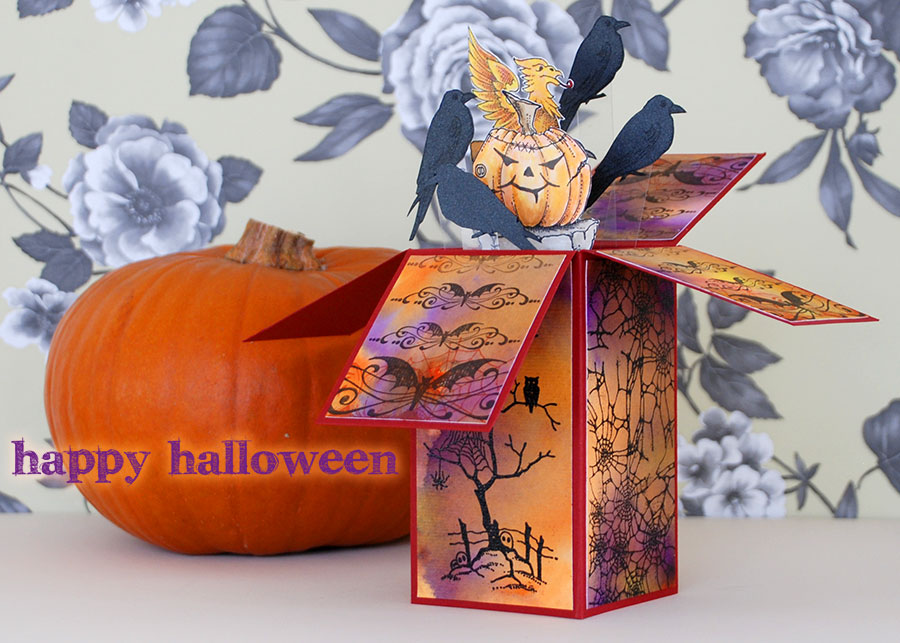
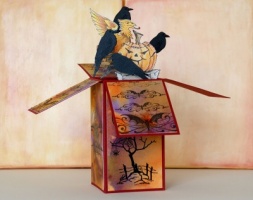
Halloween Explosion
22 October 2014 | Admin
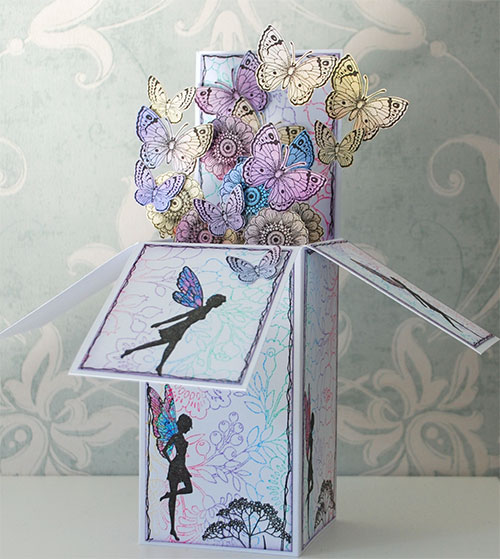
I have to say thank you to Design Team member Debbie for the inspiration for this stand up card. If you have our Summer Fairy Inspirations download, then you will already have seen Debbie's fantastic butterfly explosion card:
To make the box card itself you need one piece of A4 card which is 1111⁄16 x 817⁄64 in inches or 29.7cm x by 21cm.
- Place the A4 card landscape on a Martha Stewart scoreboard and score at 2 ¾, 5 ½, 8 ¼ and 11 inches.
- Turn the card portrait and score along the full length at 5 inches.
- Fold and crease the score lines.
- Cut down the scored lines to the 5 inch score line, these will create the flaps. There will be a slim strip for gluing the box together, trim this down to the 5 inch scored line and cut off the excess at the top.
- Cut two small pieces of card 1 inch by 7 ½ inches. Score and fold ¼ inch in from the edges. Glue the folded tabs to the inside of the box near the top to support your cut out stamped elements which you glue to the strips of card inside the box or for taller 'floating' items, fix strips of polyester behind the horizontal card strips and glue them onto those.
The stamped panels on the box were made from a single sheet of watercolour paper which I coloured with Brushos.
- Saturate the paper with water, then sprinkle on purple, lemon and orange brushos, misting with more water to encourage the colours to run and bleed together. Use a brush if needed to move the crystals around and ensure they melt into the water.
- When dry, trim the paper into 8 panels - 4 to fit on the sides of the box and 4 for the flaps.
- Using Versafine Onyx Black ink, stamp each panel with a selection of stamps from Book of Spells, Things that go Bump and Halloween Edges.
- Stamp the pumpkin and the gryphon with crow onto white card, colour with Brushos and cut out.
- Stamp just the crow onto black card with black ink four times and cut out. The ink should show up enough for you to cut out the birds, but it is so subtle that really you are using the stamp to create silhouettes, so you can turn them round and have them facing different directions if you want.
- Stick your cut out stamped elements onto strips of polyester and glue to the supports inside the box.
I'm sure you can take this to the next level with more crows, bats and other elements springing from the centre. Even if you are not a fan of Halloween, it's a fun format to play with and I hope you give it a go. Why not make one to enter over on our Challenge Blog - you might just win a voucher to spend on Chocolate Baroque stamps!

.jpg)


