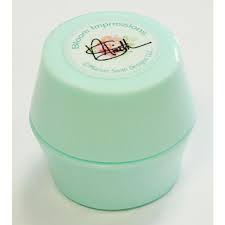
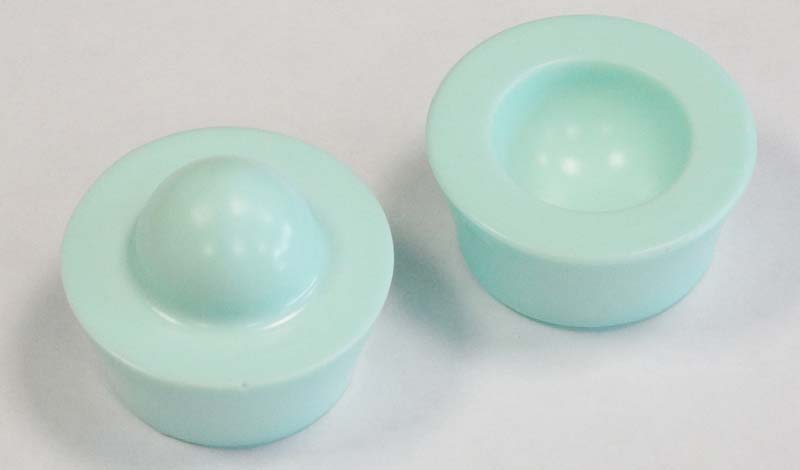
| Blooming marvellous - A review of the Blooming Impressions Flower Tool9 April 2015 | Lesley Wharton Last year the Bloom Impressions Flower Tool was launched and we have been trying to bring it to you since then. Last week we finally took delivery and I promised to put it through its paces and let you know my thoughts, so here we go. What is it? The tool is in two halves. The base has a circular depression in it and the top has a ball shape that fits perfectly into the base. Made from acrylic it has been cast in a mould so has no joints that can wear out or break. Furthermore it is lightweight and comfortable in the hand. Bearing in mind I am still suffering the after effects of a broken right arm, it was not an effort for me to use.
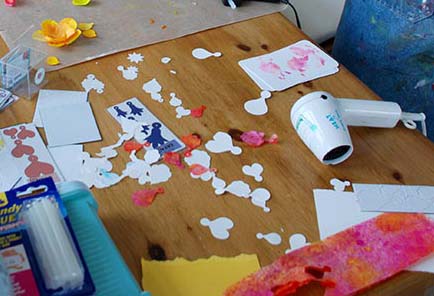
The purpose of the tool is to create dimensional flowers using petal shapes made from paper, card etc. How does it work Spritz your chosen paper petal with a fine mist of water and then place it over the hole in the base. If you have coloured the petals with an ink spray such as Dylusions, then dry them off slightly before proceeding. Place the top of the tool over your placed petal and then twist backward and forward a couple of times. When you remove the petal it will be shaped into a more realistic petal which you set side aside to dry. This exercise is repeated until you have the number of petals you require. To make a flower cut a small circle from plain cardstock and begin attaching the petals around the edge of the circle using either a glue gun or wet glue. You can either overlap them or leave a small gap, it is totally your choice; the size of the petals and the circle will determine the size of the finished flower. Add a further layer inside of the first circle of petals and repeat as many times as you wish but leave a gap in the centre to either add stamens, or an embellishment such as a button or you can create a centre bud by gluing several petals together into a ball shape. What I discovered Petal shapes can come from a variety of sources. You could cut them free hand, use a petal template or a paper punch or die-cut them. You can even use purchased paper petals.
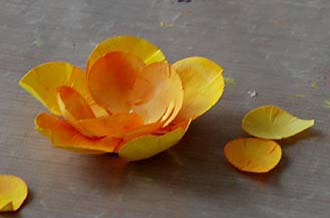
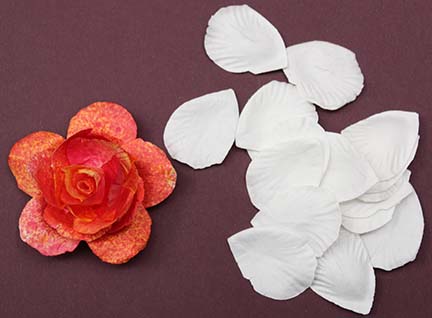
This flower was made with die-cut petals taken from a selection in the photo on the right.
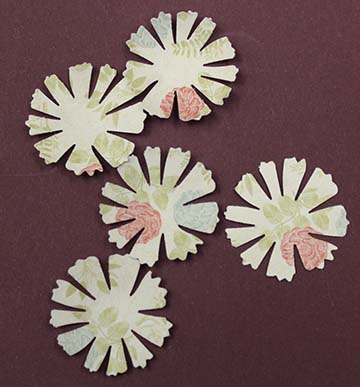
These flowers were made with bought paper petals. The type and quality of paper is important. So far I have used blotting paper, watercolour paper, 160gsm white paper, 200gsm cardstock, copy paper, dictionary paper and our tissue paper with varying results. All of them enabled me to make petals with the exception of the tissue paper, this tore in the tool when twisting it. Because you dampen the petal before using the tool the tissue became too thin. For holding the shape once dry watercolour paper, blotting paper and the 200gsm cardstock came out very well. And although the 160gsm paper was OK when dry, thinner paper such as copier paper was completely unsuccessful. The dictionary paper had mixed results; it seemed to depend on the thickness. Old dictionaries were definitely not good. Another thing to watch for is not to get the petals too damp. Apart from the fact that you can tear them whilst using the tool, if too wet the tool doesn't make such a crisp shape and as they dry they can lose the shape altogether.
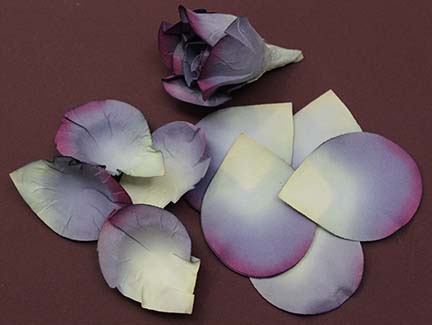
Both of these sets of petals were too damp and as you can see with the dictionary paper they are almost as flat as the originals on the left hand side of the photograph. This is really just trial and error, but if you think the petals are too wet, use a heat tool to evaporate the excess moisture. Before building your flower you need to make sure all the petals are completely dry, if they are even slightly damp they will not glue in place. And whilst I'm talking about glue I found that wet glue such as Woodware's Crafty Glue (or similar) was much better than using a glue gun. You can move the petals around on the base circle with wet glue and you can mould petals together (as I did for the purple rose). A glue gun may be more convenient, and you might want to use one when you have become more experienced, but wet glue just gives you that extra time fiddle around if you need to. A few Dos and Don'ts
CONCLUSION I like this tool because it allows you to make original and unique looking flowers from scraps of paper, cardstock etc and achieve good results with very little effort. I also like the idea that you can colour plain paper or cardstock with inks, paints, sprays, gelatos etc to match your project. The versatility of the tool means you can use petal shapes that have been punched, die-cut, cut by hand or even bought. And one last point, although it is relatively easy to use, allow yourself some practise time to get used to the way it works and how it shapes paper. Don't give up if you haven't made the perfect flower first time. My final thoughts are that this flower shaping tool is a fun piece of crafty kit that will not break or wear out and if you can bear to part with it then it'll be a great product that you can safely let the kids play with. It should keep them quite for a while.
|
|
.jpg)


