Christmas Cards using a Master Board Background by Shirley Deatcher
4 Comments10 December 2015 | Lesley Wharton
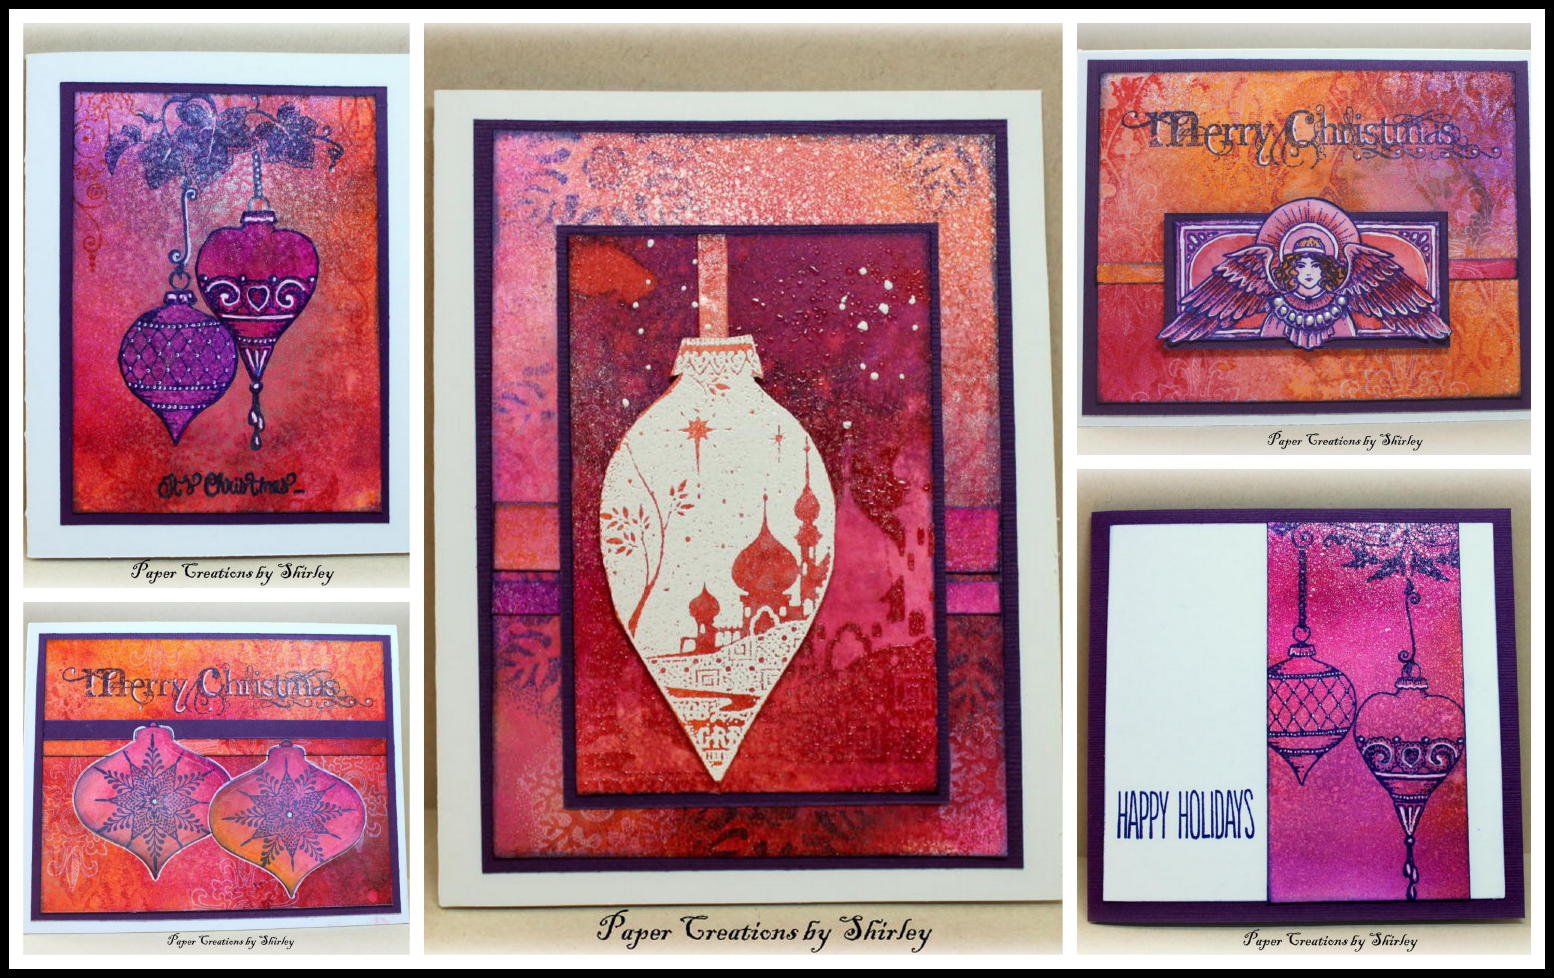
Here is a fabulous idea from Shirley Deatcher, who used to be one of our Design Team members. Shirley has kindly written this article especially for you and although Christmas orientated I just know you could adapt this technique for so many other projects.
Christmas Cards using a Master Board Background
by Shirley Deatcher
Materials:
- Chocolate Baroque stamps
- Gothic Angels
- Gothic Fragments
- Harlequin Christmas
- Beautiful Baubles
- A Child is Born
- Snowflake Flourish
- Sentiments: Warm Christmas Greetings, Bold Christmas Words
- Dylusions Spray Inks - Squeezed Orange, Crushed Grape, Cherry Pie
- Distress Spray Stain – Picked Raspberry
- Glimmermist – Precious Metal
- White pigment ink
- Versafine ink – Majestic Blue for all main images
- Cardstock – white, deep purple
- Smooth watercolour or mixed media paper – large sheet 28 x 36 cm
- Distress Inks – Ripe Persimmon, Wilted Violet
- Embossing Powders – white, clear, chunky white enamel
- White pen
- Liquid Pearls
- Spritz bottle with water
- Heat gun
- Non stick craft mat
- Spellbinder Heirloom Reflections Die or similar Bauble Die
- Small water colour brush
Background Master Board
- Use a craft mat under artwork
- Spray inks and stain directly onto the watercolour paper and then spritz with water to blend a little
- Blot with paper towel roll
- Add more colour if desired
- Dry with heat gun
- Spritz with Glimmermist which will create watermarks and a lovely glowing finish, let dry naturally (do not use heat gun).
- Cut the master board into six background pieces
Snowflake Baubles (Stamps: Gothic Fragments, Snowflake Flourish, Bold Merry Christmas)
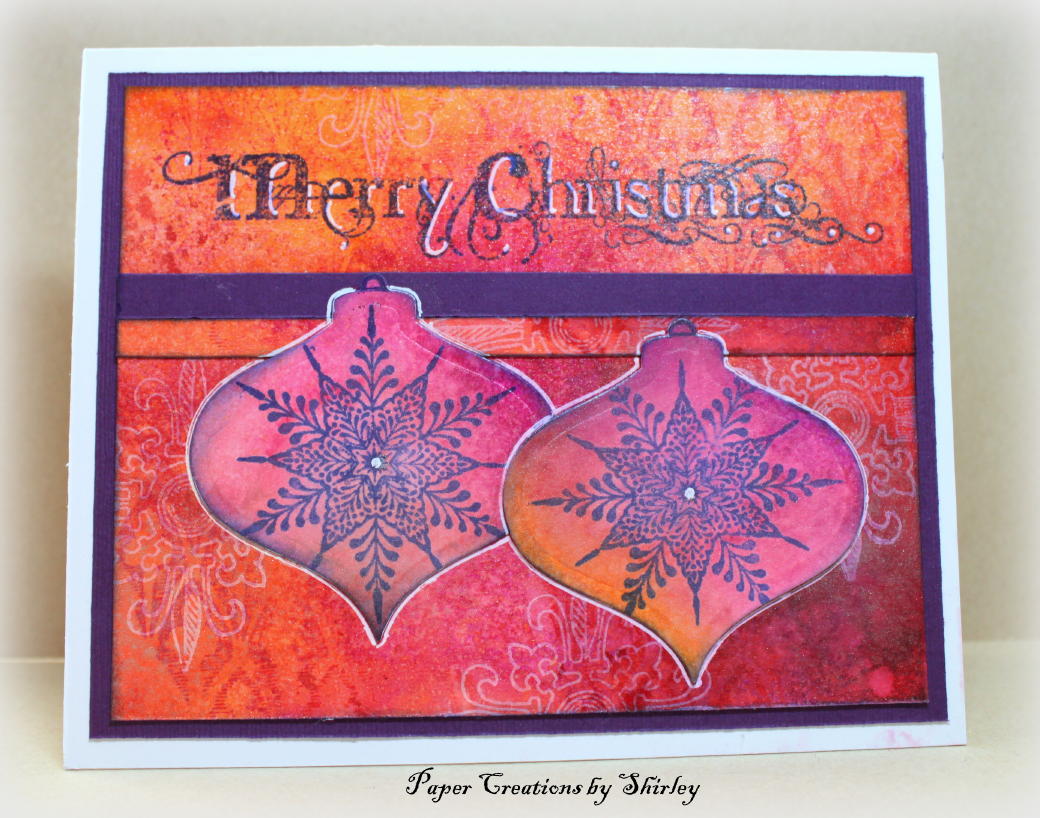
- Stamp background with large gothic fragment and Picked Raspberry Distress Ink
- Stamp background with small gothic fragment and white pigment ink
- Cut narrow strip from background and purple cardstock to layer over background
- Die cut two ornaments from extra background piece
- Stamp sentiment on background
- Stamp snowflake on die cut ornaments
- Assemble card as shown
- Add highlights with white pen
Gothic Angel (Stamps: Gothic Fragments, Gothic Angel, Bold Merry Christmas)
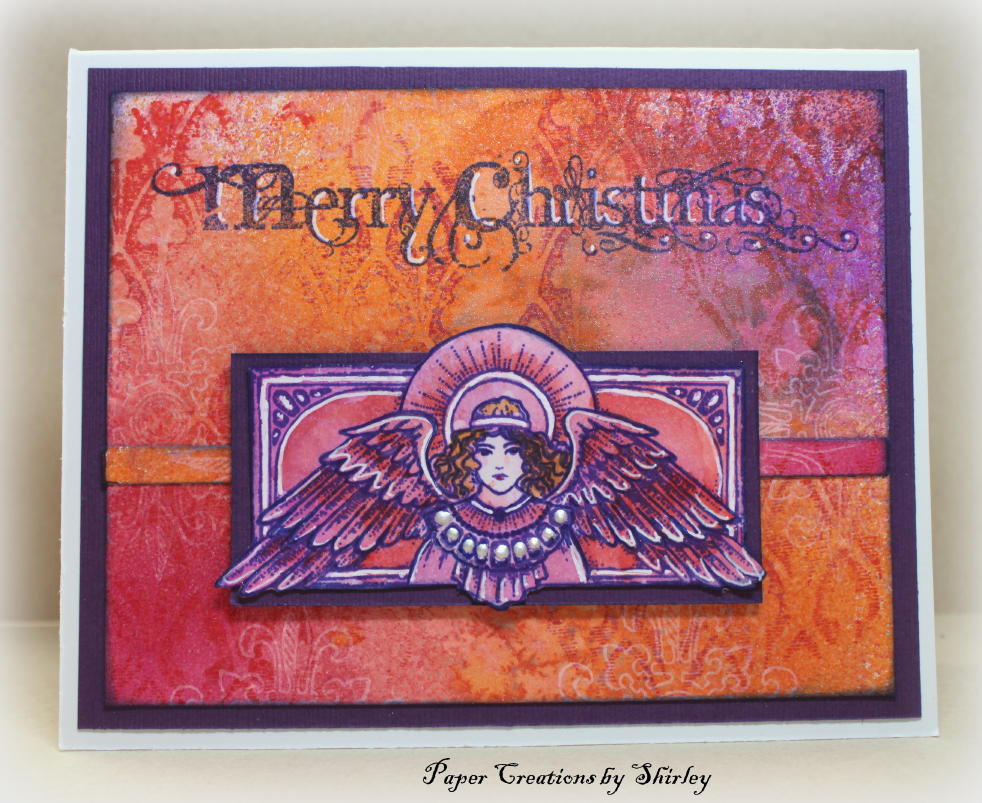
- Repeat the stamping on background as first card
- Cut narrow strip to layer onto background
- Stamp angel on watercolour paper
- Swipe Distress Inks directly onto craft mat to paint image with brush and water and dry
- Cut out angel image
- Stamp sentiment
- Highlight images with white pen
- Assemble card as shown
- Add liquid pearls to angel’s collar
CAS with Beautiful Baubles (Stamps: Beautiful Baubles, sentiment)
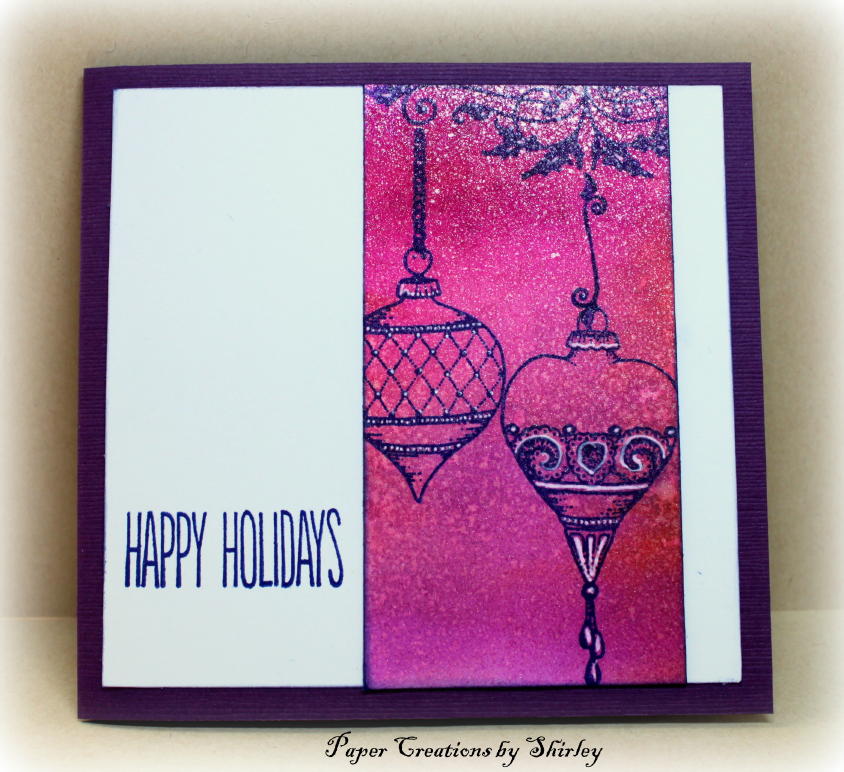
- Stamp off flourish and baubles on a small piece of background
- Highlight with white pen
- Stamp sentiment on white mat
- Assemble as shown
It’s Christmas... with Beautiful Baubles (Stamps: Beautiful Baubles)
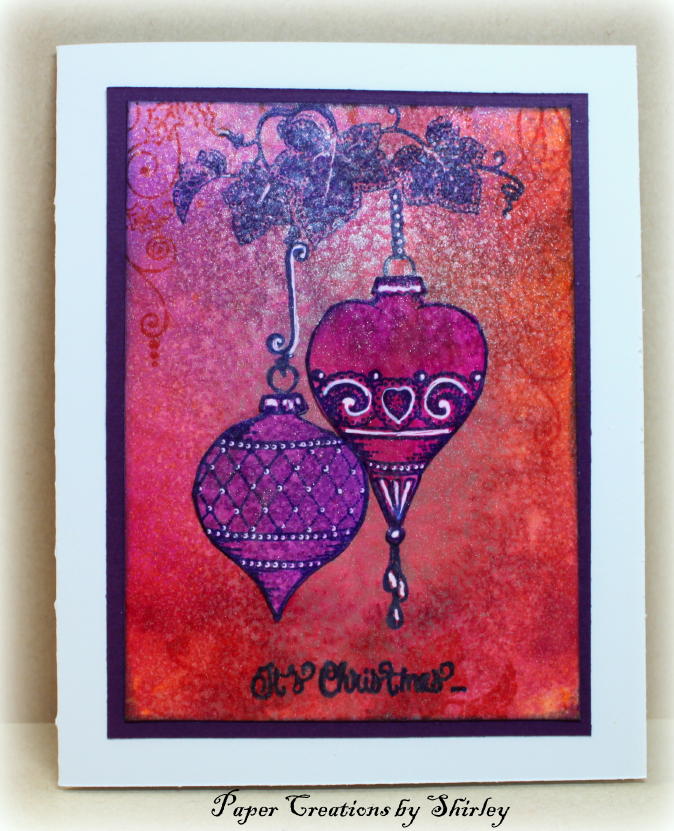
- Stamp baubles on a small piece of background and cut out
- Stamp leaf flourish at the top of background
- Stamp hangers
- Adhere ornaments
- Stamp sentiment at bottom
- Assemble as shown
Harlequin Ornament (Stamps: Harlequin Christmas, A Child is Born)
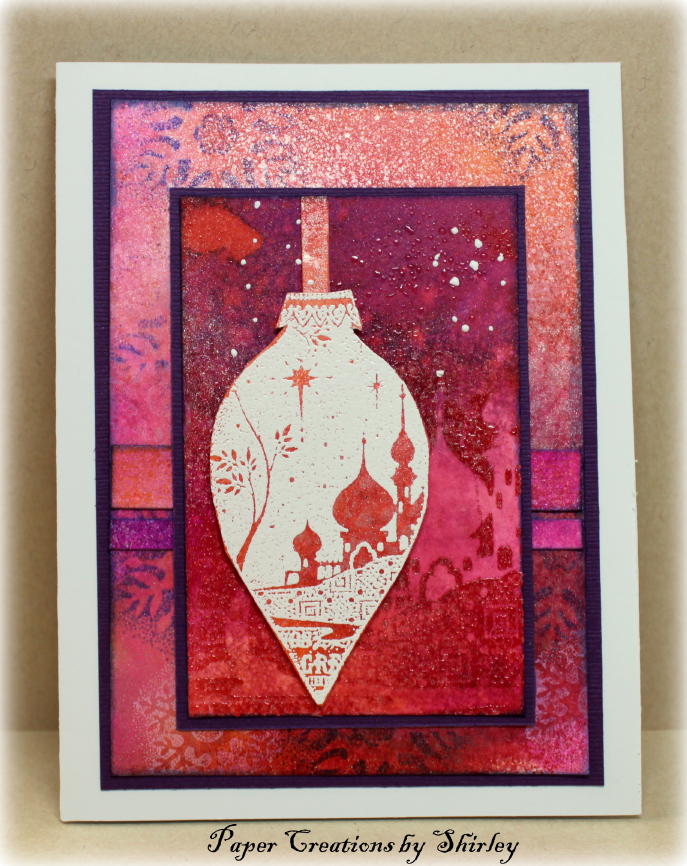
- Emboss ornament on watercolour paper with white powder, colour with Distress Ink and cut out
- Stamp matching background piece on small background and emboss with clear
- Cut narrow background pieces to layer across background and for ornament hanger
- Remove some colour from image using water and paper towel.
- Add ‘snow’ using chunky embossing enamel, heat underneath
- Stamp snowflakes from a Child is Born on larger background with Wilted Violet Distress Ink.
- Assemble as shown
Note: To finish backgrounds, add dark Distress Ink (such as Chipped Sapphire) to the edges with a blending tool
.jpg)


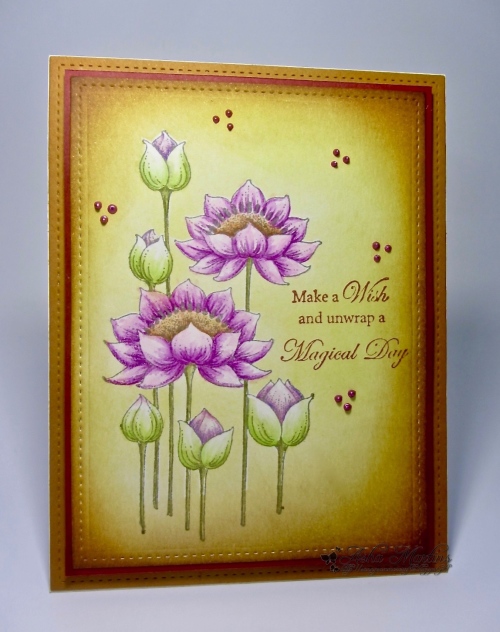
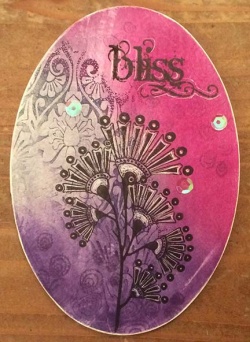


Beautiful bunch of cards with gorgeous colors Shirley! Always lovely to see your work, hugs Mirandaxx
Thank you for these wonderful instructions!
WOW Shirley - these are all gorgeous. Thank you so much for sharing this technique x.
A beautiful set of cards and great instructions. Very inspiring, thank you.