Waterlily Favour Box
1 Comment9 October 2014 | Admin
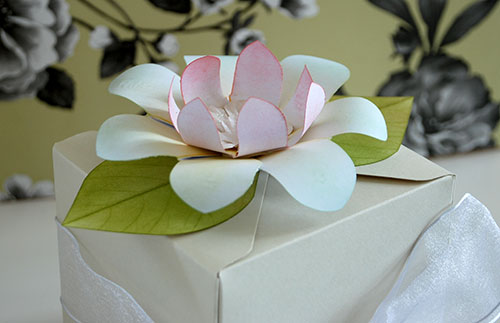
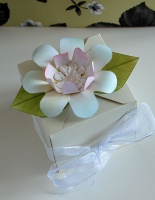
Waterlily Favour Box
You will need:
Both punch boards come with comprehensive instructions, but if they seem complex to use at first, practice on some cheap card until you get the hang of it.
- Use the 12x12 inch cardstock with the Gift Box punch board to make a 4 inch square box. Stick together with strong double sided tape or PVA glue.
- Cut the white cardstock to 1 3/4 inches x 6 inches (4.4cm x 15.2cm) and use with the flower punch board to make the XXS flower.
- Cut one of the petals off completely so you have seven petals rather than 8 - this is what will allow you to create the cup shape rather than a flat flower.
- Before folding along the scored lines, pick up a little Rose Madder ink on the stencil brush and gently swirl it over the tips of the petals on both sides of the card. Repeat with the Saffron ink along the bottom of the strip (you only need to do the one side that will be the centre of the flower).
- Fold the diagonal scored lines downwards (mountain fold) and the straight lines upwards (valley fold) until all scored lines have been folded. the flower shape will emerge as you do this.
- Apply a little glue to the underside of each diagonal fold with the Zig glue pen and press down firmly for a couple of seconds to make the bond secure.
- Curve each petal up and inwards with the tool included or with your fingers, then glue the first and last petal together to complete the flower shape. Don't worry if you have a hole in the middle, that will be covered.
- Cut your second piece of white card to 2 1/4 inches x 9 inches and use to make the XS flower on the flower punch board. Again, cut one petal off entirely to leave 7 petals.
- Colour this flower with the stencil brush using Sap Green archival ink and a light touch of Saffron.
- Assemble the flower as before, but this time curl the petals outwards.
- Nest the smaller flower inside the larger and glue in place then stick a small decorative flower in the middle.
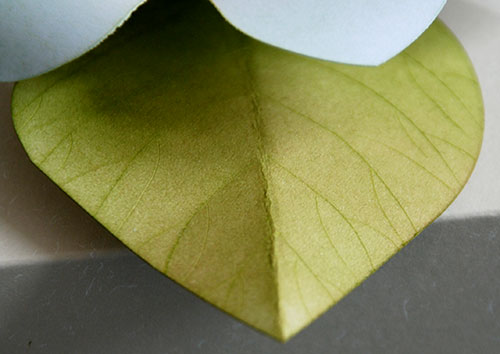
- Cut two squares of white card approximately 2 1/2 inches square and use the reverse punch on the flower punch board to round opposite edges to make two leaves.
- Score each leaf down the middle, then to add some realism, use the piercing tool to scratch 'veins' running out from the central scored line. Ink the leaves with Olive green and you will see the scratched lines absorb more ink, giving dark lines.
- Attach the leaves to opposite points on the box top, then position the flower centrally and glue to just one leaf so the box will still open.
- Tie a ribbon around the box and tie in a bow.
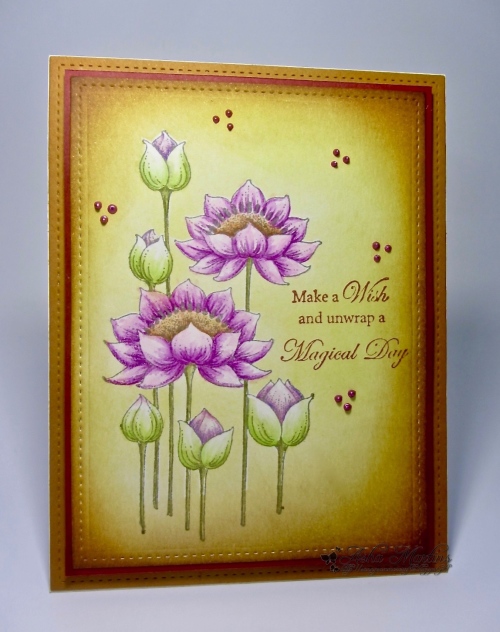
I hope you've enjoyed this little tutorial and remember if you don't have all the 'ingredients' it's fine to substitute things that you do have. I think this would look lovely with a stamped panel on each side of the box, or made using our Sunny Sunflowers stamps. Use it as a starting point for your own creation and if you'd like to share it with us, why not join our community forum or Facebook group - we welcome everyone from absolute beginners onwards.

.jpg)


