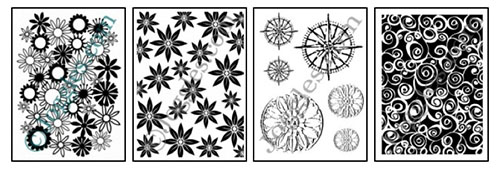
| Stencils and Wax14 January 2015 | Admin I've been having fun! I was inspired by Lesley's play session with Acrylic Wax when she first got it in and couldn't wait to have a go myself. I had to wait though because it just kept selling out every time we got it in. [At the time of writing, we are waiting for a delivery, so I suggest you use the 'notify me' feature if you want to know when we have it back in stock.] I finally got some wax at Christmas, then this week we got a delivery of new stencils and I treated myself to a couple, including one that is rapidly becoming my all time favourite for masculine and steampunk themes - Rosettes by Joggles.
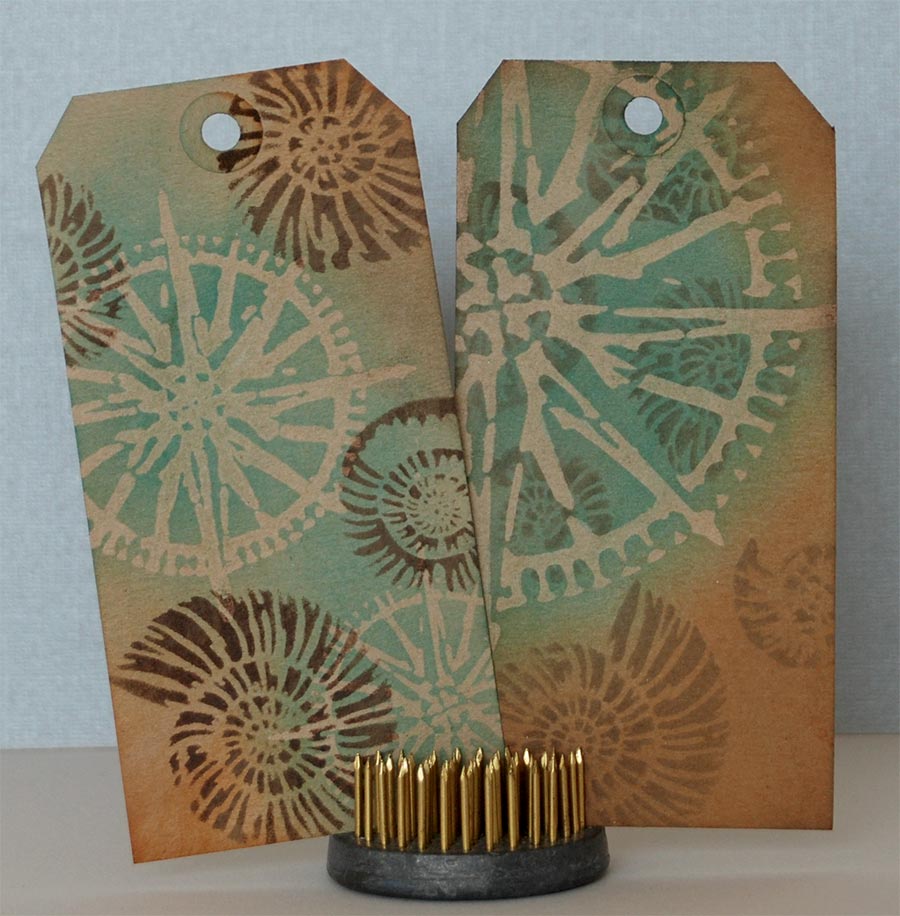
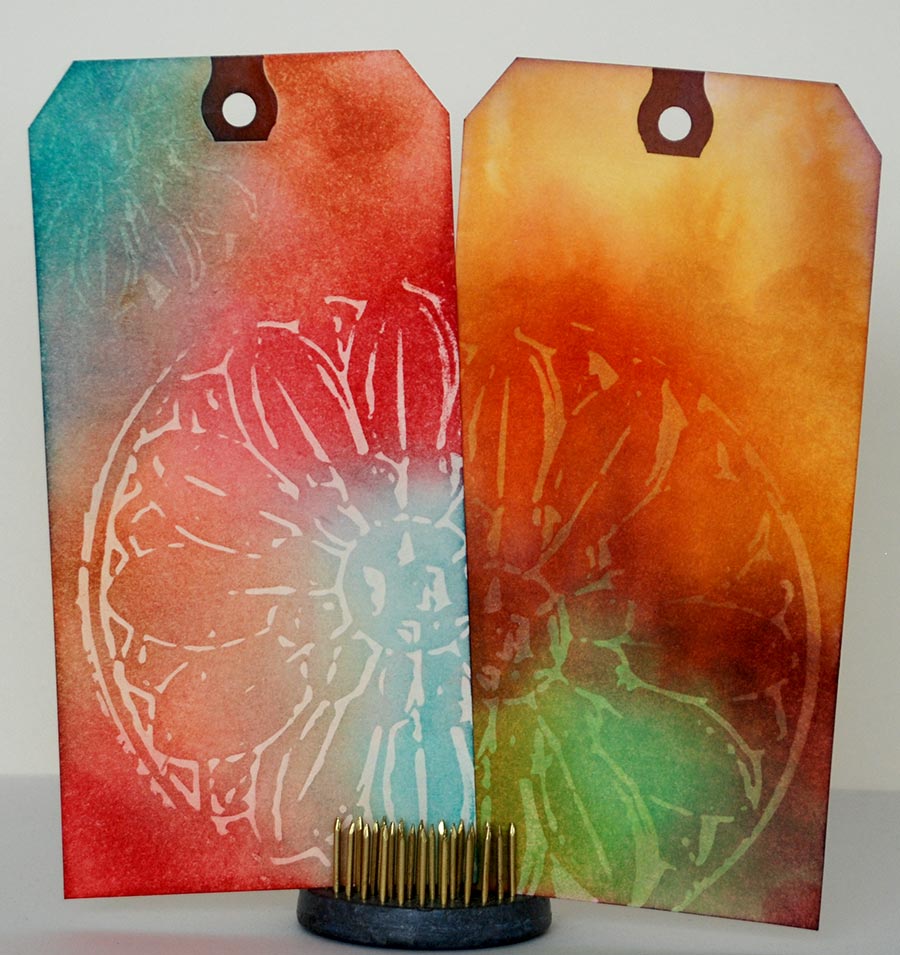
These kraft tags were first stencilled with Rosettes using Acrylic Wax. I use a large stencil brush and squeeze out a small amount of the wax onto a piece of scrap plastic, then pick up the bare minimum and work it into the bristles a bit before swirling it over the stencil. A little goes a long way and it dries very quickly with this method. Once dry, I used a piece of Cut 'n' Dry foam to apply Peacock Feathers and Walnut stain inks over the tags - this is the fun bit as the stencilled image starts to really stand out from the background. I then burnished the tag with a soft cloth to polish the ink off the wax. The shell pattern (Nautilus stencil from Crafter's Workshop) was stencilled over the top and you can see from the two tags that you can go for a subtle or a strong effect, depending how much ink you use. I'm finding that if you polish off the ink straight away, the wax resists the ink, but if you leave it to dry, it stays put and doesn't come off once it is dry. Liquid colour can give a different effect with the wax than dry colour, depending on how much you saturate the paper.
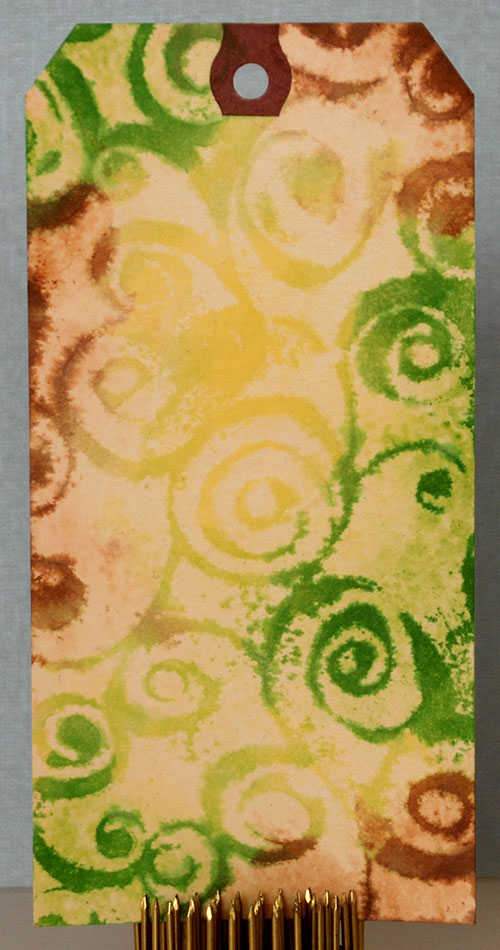
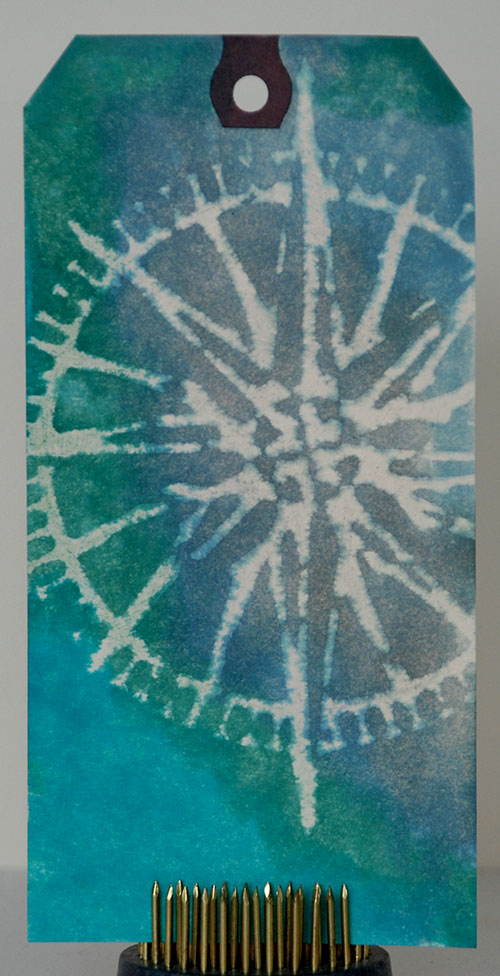
On the two tags above, I used Distress Stains to add colour over the stencilled wax - this time using a Joggles stencil called Endless. The stencil on the right has been rubbed over with the stains, but the one on the left had water added and you can see it's much blotchier as the colour has seeped underneath the waxed areas and stained the paper. You can see the same effect in the tag below - I think it looks like batik.
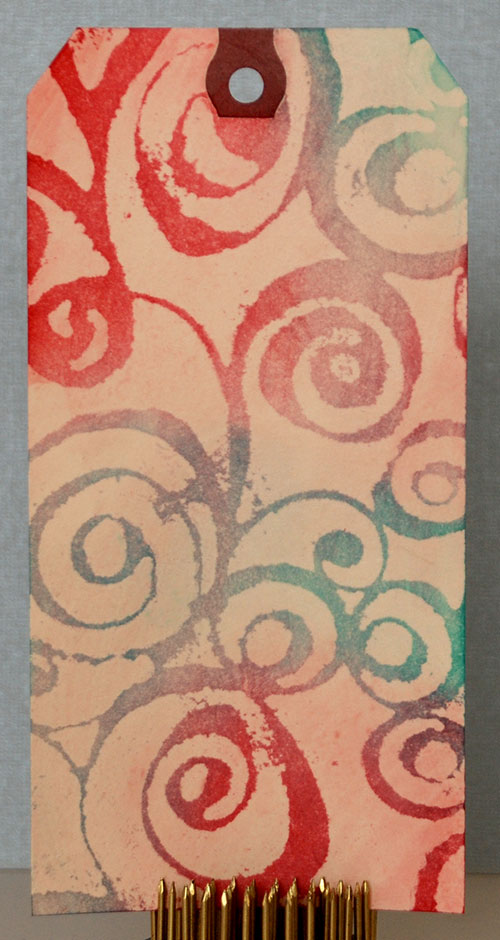
Of course you don't have to start with a plain colour, you can apply the wax after you have applied colour and you will then preserve that colour when you go over it with a darker tone. In the tags below, the one on the left had wax stencilled onto a plain tag and the one on the right was applied to a coloured background, then more colour was added to the top (this is another design from the Rosettes stencil by Joggles).
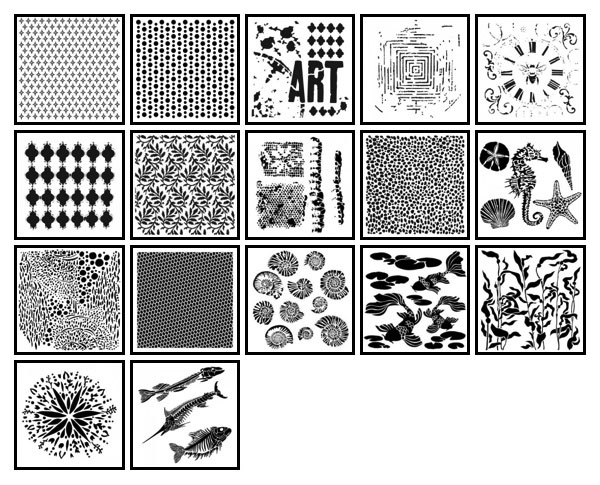
Why not visit our Mixed Media department to check out all the new arrivals from Joggles and Crafter's Workshop - they are yummy and even the new ones are all on sale right now!
|
|
.jpg)
